Get Crafty this Thanksgiving: How to Create a Personalized Paper Bag Turkey Puppet With Your Little One!
- Kiana

- Nov 8, 2024
- 4 min read
Updated: Nov 10, 2024
All activities should be supervised by an adult. Please note that some links in this post are affiliate links, which means we may earn a small commission if you purchase through them at no extra cost to you. Please read the full disclosure here.
Fall is filled with creative opportunities to celebrate the changing leaves, cooler weather, and family gatherings. With Thanksgiving right around the corner, making a paper bag turkey puppet is a wonderful way to entertain kids while tapping into the seasonal fun.
This Thanksgiving craft is simple, inexpensive, and gives kids the chance to add their own unique touches, transforming an ordinary paper bag into a playful turkey puppet. It’s perfect for Thanksgiving or any fall-themed activities and provides hours of fun once the crafting is complete!
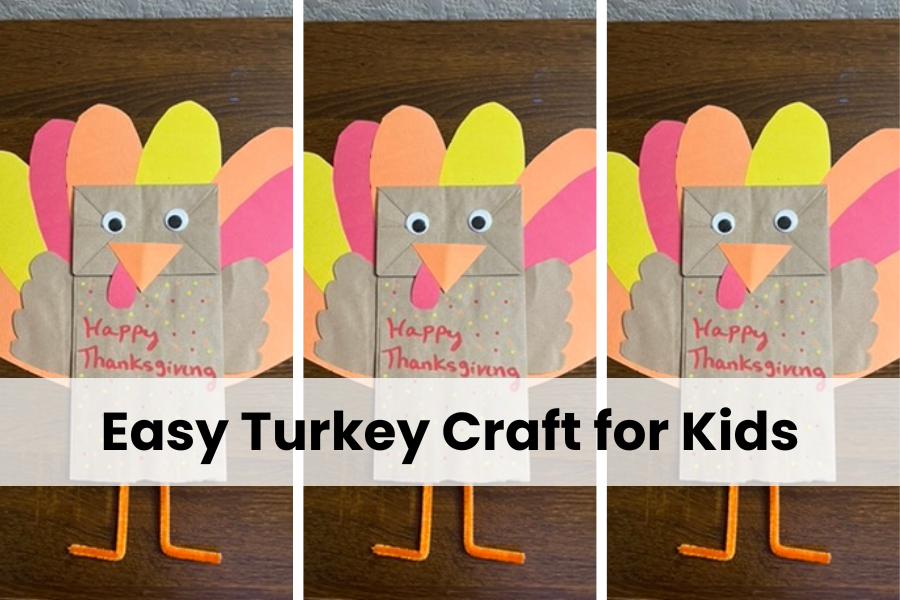
Below, we’ll go through how to make a basic paper bag turkey puppet, along with some creative ways to make each turkey uniquely yours. So, let’s dive into this cheerful Thanksgiving project!
Materials Needed
Before you start crafting, gather your supplies. Most of these items can be found around your home. Here’s what you need:
Paper lunch bags: Brown bags work best for a natural turkey look, but any color can work.
Colored construction paper: Reds, oranges, yellows, and browns will bring your turkey to life.
Googly eyes: For a fun and whimsical look, but these are optional.
Glue stick or liquid glue: To hold everything together.
Safety scissors: Make cutting safe for little hands.
Markers or crayons: Perfect for adding personal touches.
Optional: feathers, glitter, sequins, pom poms, and pipe cleaner (none of these supplies are necessary, but they can add a lot of personality to your turkey)

Having all these materials ready makes the crafting experience enjoyable and organized, setting the stage for creativity to flourish.
Step 1: Prepare the Paper Bag
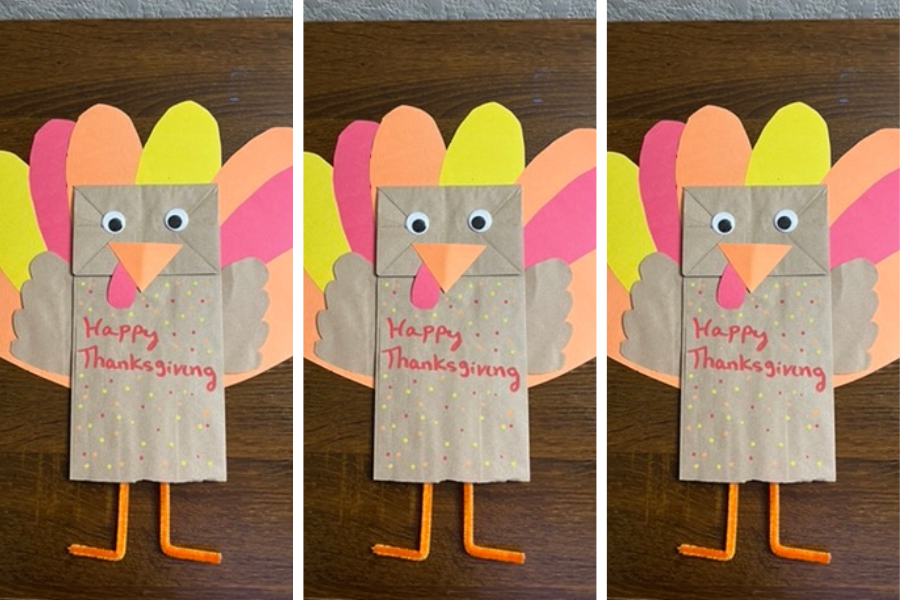
Lay the paper bag flat on your work surface, and make sure the bottom of the bag (the folded flap) faces you. This flap will act as the turkey’s face when you’re finished.

Step 2: Create the Turkey Face
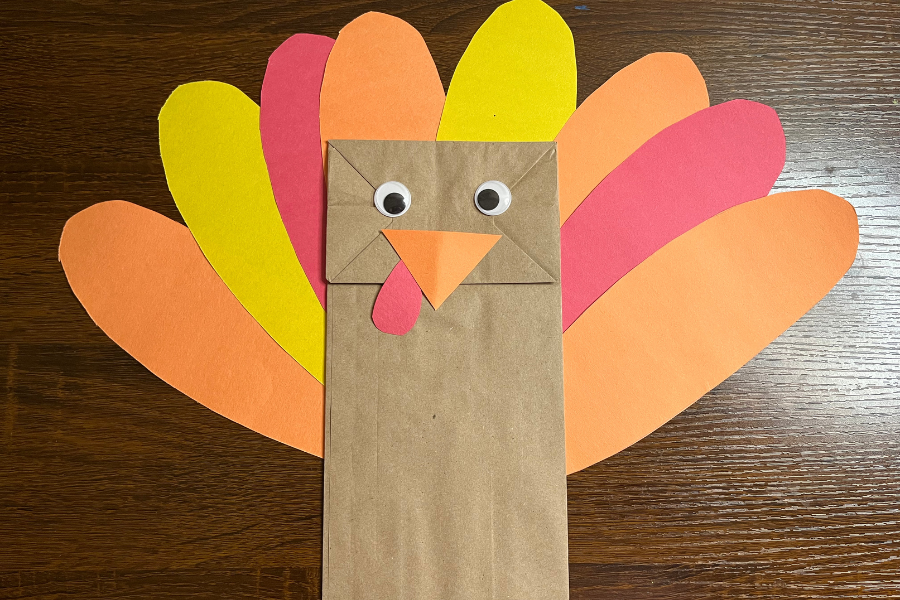
Eyes: The easiest option is to use a fun pair of googly eyes however, if you don't have any on hand, you can go ahead and make a pair of eyes instead. Cut two small white circles out of construction paper for the turkey’s eyes. Add small black dots in the center of each eye and glue them onto the folded flap of the paper bag, positioning them near the top.
Beak: Cut a triangle shape out of yellow or orange construction paper for the beak. Fold it in half and glue the top edge right below the eyes so the beak can “open” with the flap.
Wattle: Cut a wavy, teardrop-shaped piece from red construction paper to make the turkey’s wattle. Glue it on one side of the beak, letting it hang down for a fun effect.

Step 3: Add Colorful Feathers
Every turkey needs its feathers!
Cut feather shapes from red, yellow, and orange construction paper. You can make as many as you’d like—typically, five to eight feathers create a nice, full look.
Arrange the feathers in a fan shape at the back of the paper bag so they stick out above the head when the puppet is upright.
Glue the feathers onto the bag, pressing down to ensure they stay in place. Let the glue dry for a few minutes before moving on to decorations.
For extra flair, try curling the tops of the feathers using scissors, creating a fun 3D look.
Step 4: Personalize the Turkey
Here’s your chance to add some creative magic! Encourage your child to decorate their turkey puppet however they want.
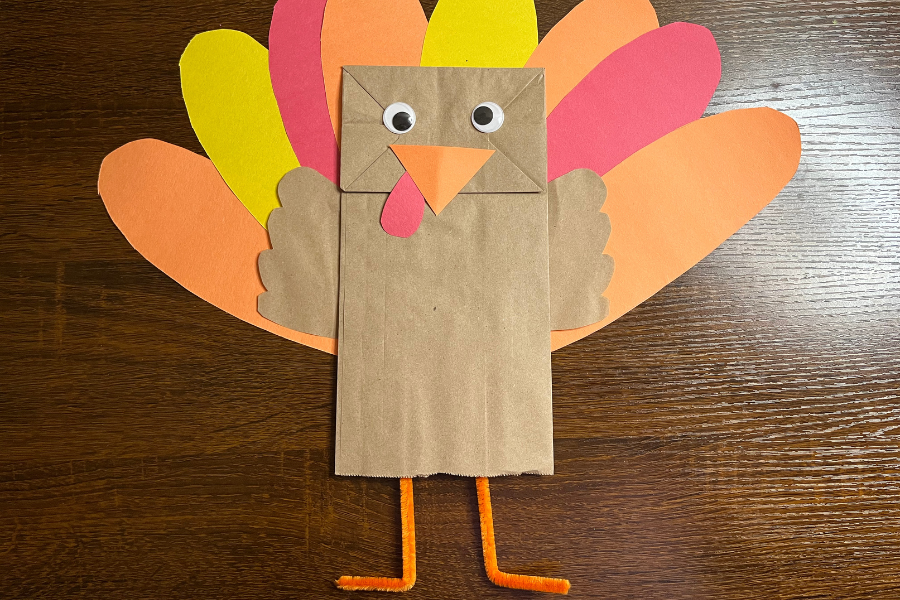
Add Wings: You can create wings for your turkey puppet by cutting wing shapes out of construction paper or from another paper bag.
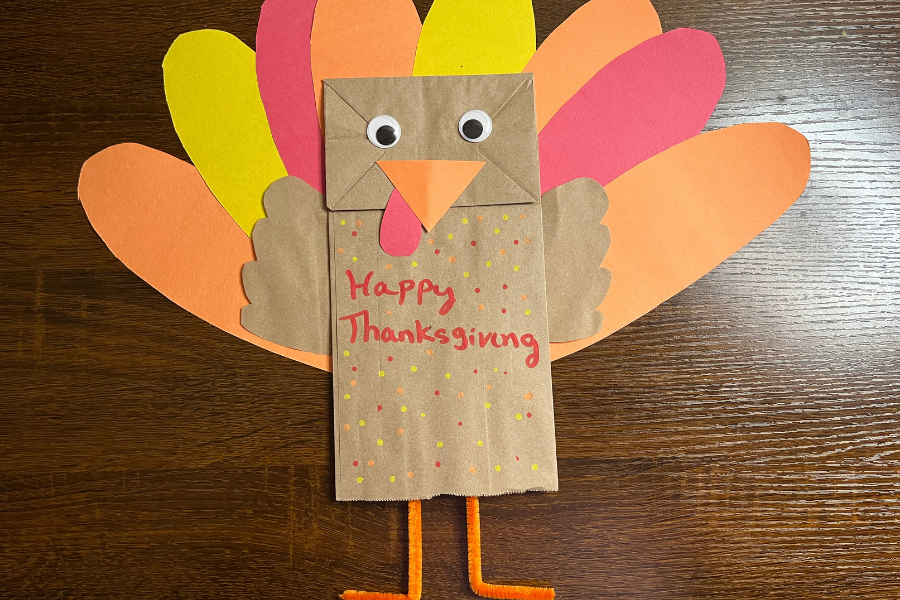
Body Feathers: If you want to add some texture, cut extra small feather shapes and glue them onto the “body” of the paper bag (below the face). This gives the turkey a fuller look and adds extra color.
Create Feet: Use construction paper or pipe cleaners to create fun little feet for your turkey puppet.
Give the Turkey a Hat or Accessories: Add a tiny paper hat (pilgrim hat, top hat, or even a little bow) to the turkey’s head. This can add character and is fun for dressing the turkey up!
Decorate the Feathers: Let kids use markers and crayons to add patterns or dots on the feathers, making them unique.
Add Glitter or Sequins: For a bit of sparkle, let kids add sequins or glitter to the feathers or body of the turkey puppet. It’s a great way to make the turkey stand out!
Optional Step 5: Create a Puppet Show
With your turkey puppet complete, it’s time for some imaginative play! Lead your children in creating a puppet show where they can act out Thanksgiving stories or share things they are grateful for. This is a fun way to engage their imaginations and enhance their storytelling skills.
Embrace Thanksgiving Together
This paper bag turkey puppet is a fun, easy, and creative fall craft that kids will love, especially as Thanksgiving approaches. With just a few simple materials, children can make their own turkey friend, complete with colorful feathers and plenty of personality. Not only is this craft enjoyable, but it’s also a fantastic way for kids to engage in imaginative play by putting on puppet shows or creating Thanksgiving stories with their turkey puppets.
By following these simple steps, you’ll create a joyful experience that enhances your Thanksgiving celebrations. Whether you choose to incorporate colors, textures, or heartfelt messages, each puppet will be unique and full of happiness.
So, gather some paper bags, construction paper, and glue, and let your child’s creativity take the lead in making these adorable paper bag turkey puppets. This craft is sure to bring smiles and laughter to your fall season!


Commentaires